QB Sync Made Easy: How To Sync Salesforce Account With QuickBooks Online Using Buttons
September 26, 2023Team QB Sync Made Easy3 min read
Share This Article
In our attempt to make your QuickBooks and Salesforce integration easier, we have previously shared a comprehensive guide on how to install and set permissions in QB Sync Made Easy, followed by a step-by-step tutorial on how to connect and configure your Salesforce Account with Quickbooks Online.
So, continuing on with our How-To-Do Series on QB Sync Made Easy, in this blog today, we will see how to sync a Salesforce Account With QuickBooks customers using buttons.
Let’s get started!
Sync Salesforce Account With QuickBooks Online Customers using Button
In QB Sync Made Easy app, there are two ways of syncing Salesforce accounts with Quickbooks Online customers-
Using Buttons
Using Flows
In today’s blog, we will focus on how to leverage buttons for linking Salesforce accounts with QB customers.
To start with that, let’s go to the mapping we created for Account-Customer in the object and field setup in our previous blog.
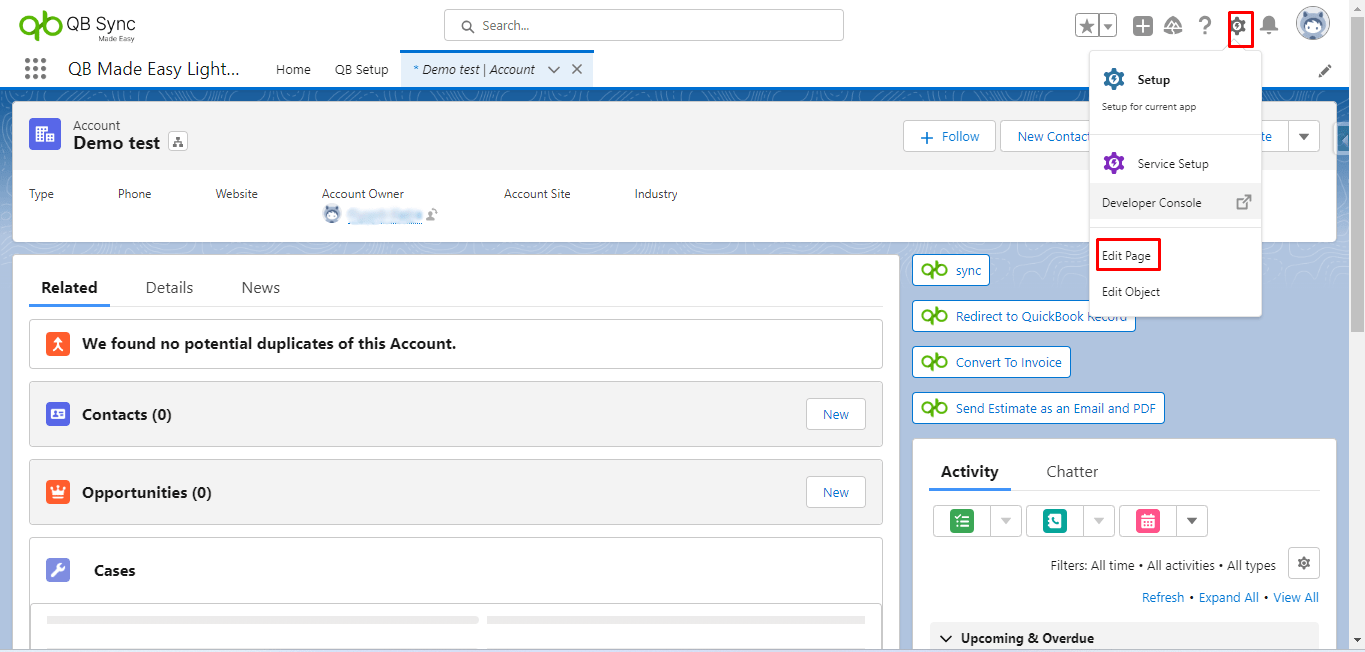
Now go to an account record and click on the Edit page as shown below.
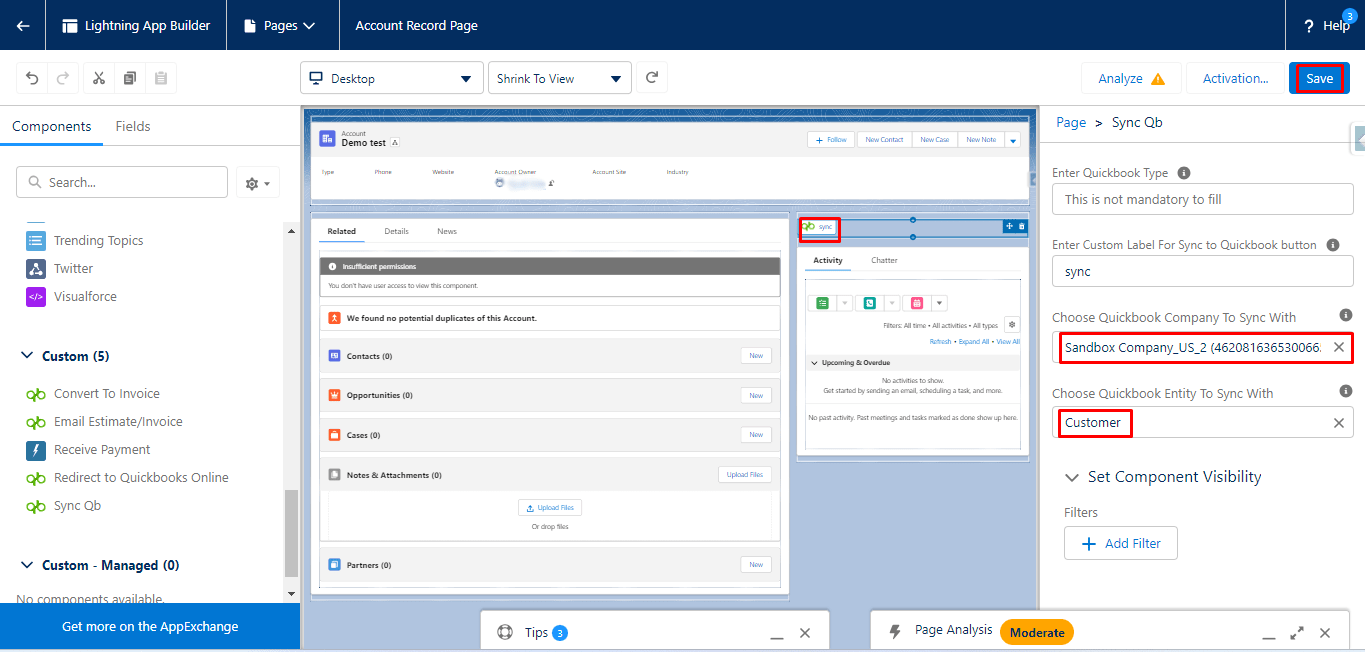
Now you need to drag and drop the Sync QB custom Button onto the page and Fill in the required Design Attributes.
i) In choosing the QuickBooks CompanyId Design attribute, Select the company ID that you want to sync with(Mapping is required).
ii) Choose the QuickBooks entity Design attribute to Select and sync with.
Note: These two Design Attributes are required to sync.
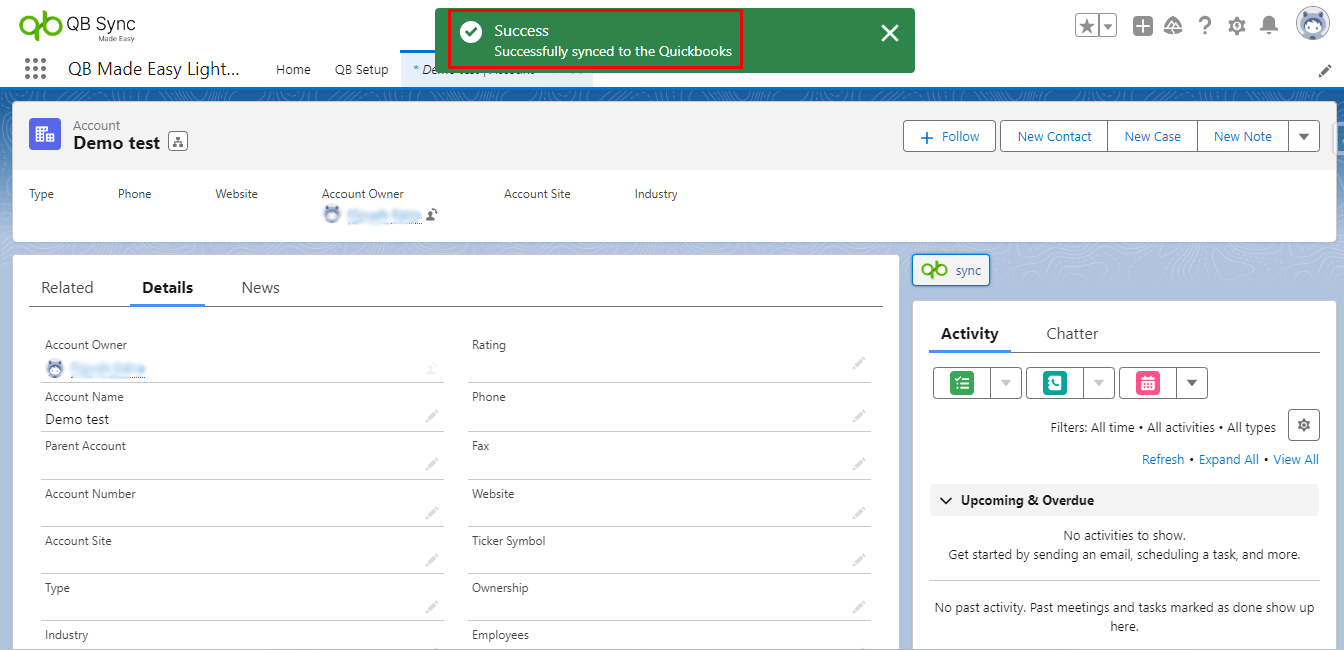
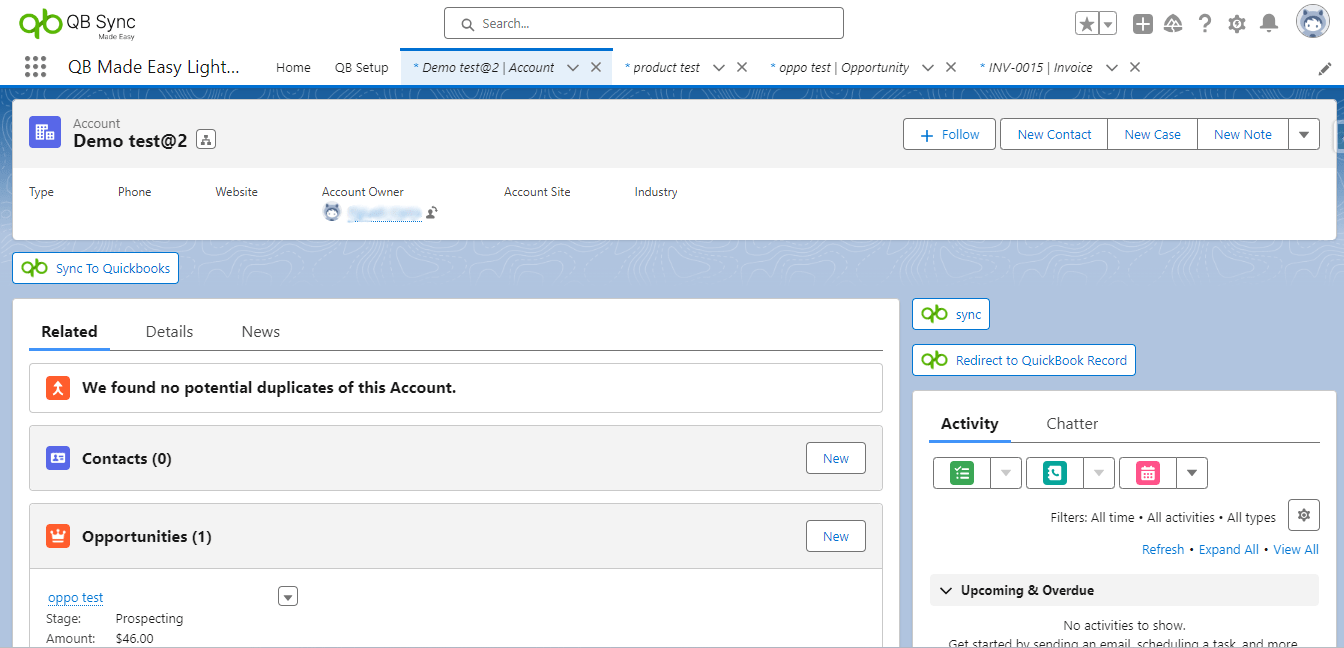
iii) Now you can Go to the Record and click on the SyncQB button to Sync that Record in the Quickbooks.
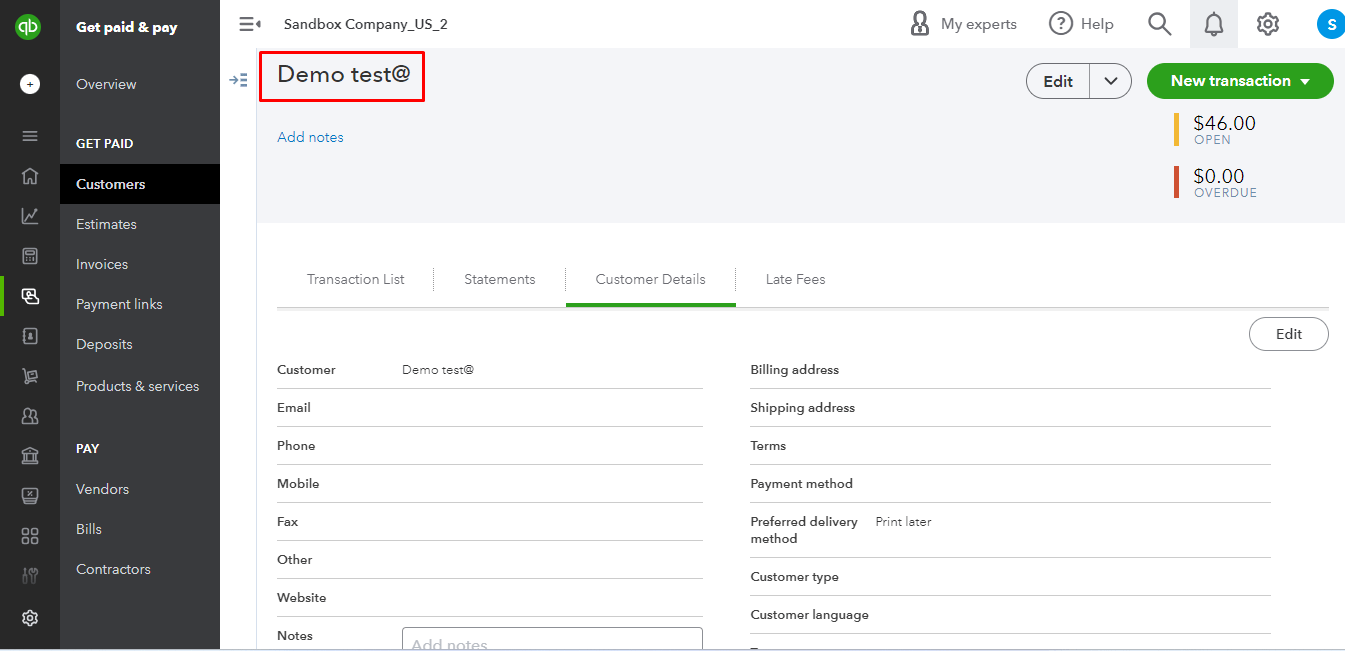
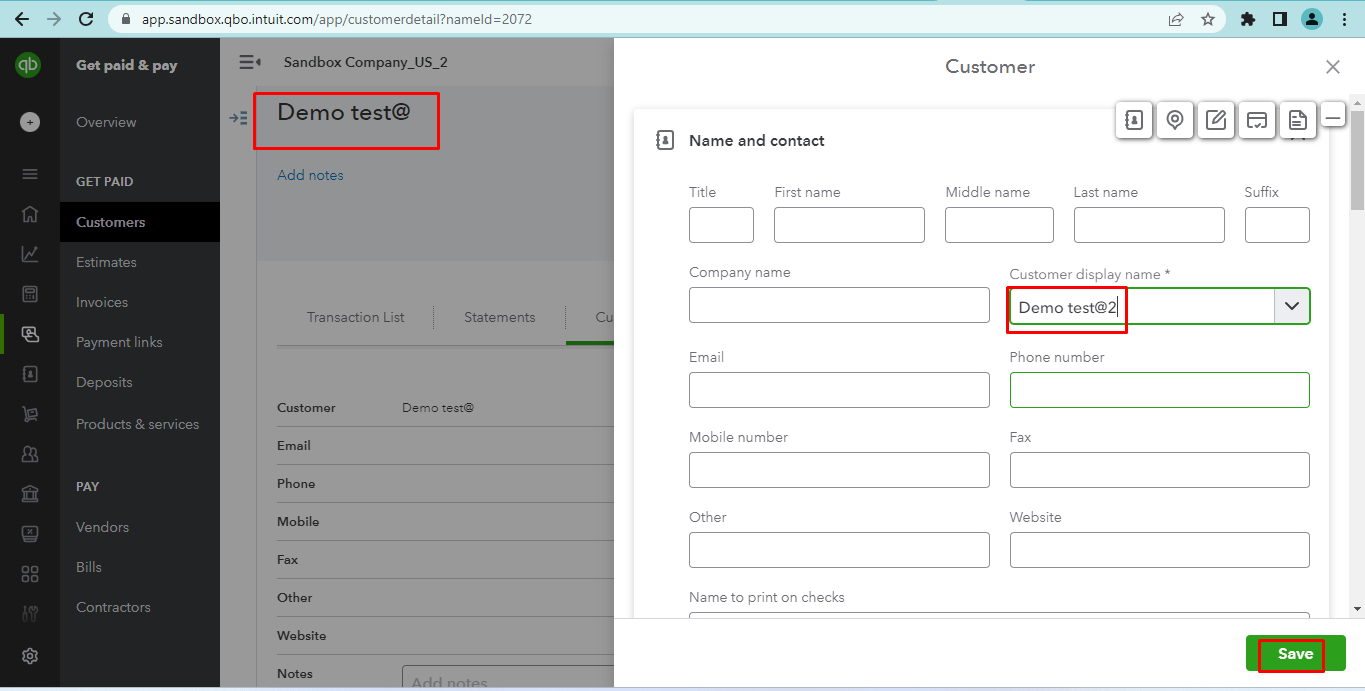
After you have synced the Record, Go to Quickbooks Online and check for the record.
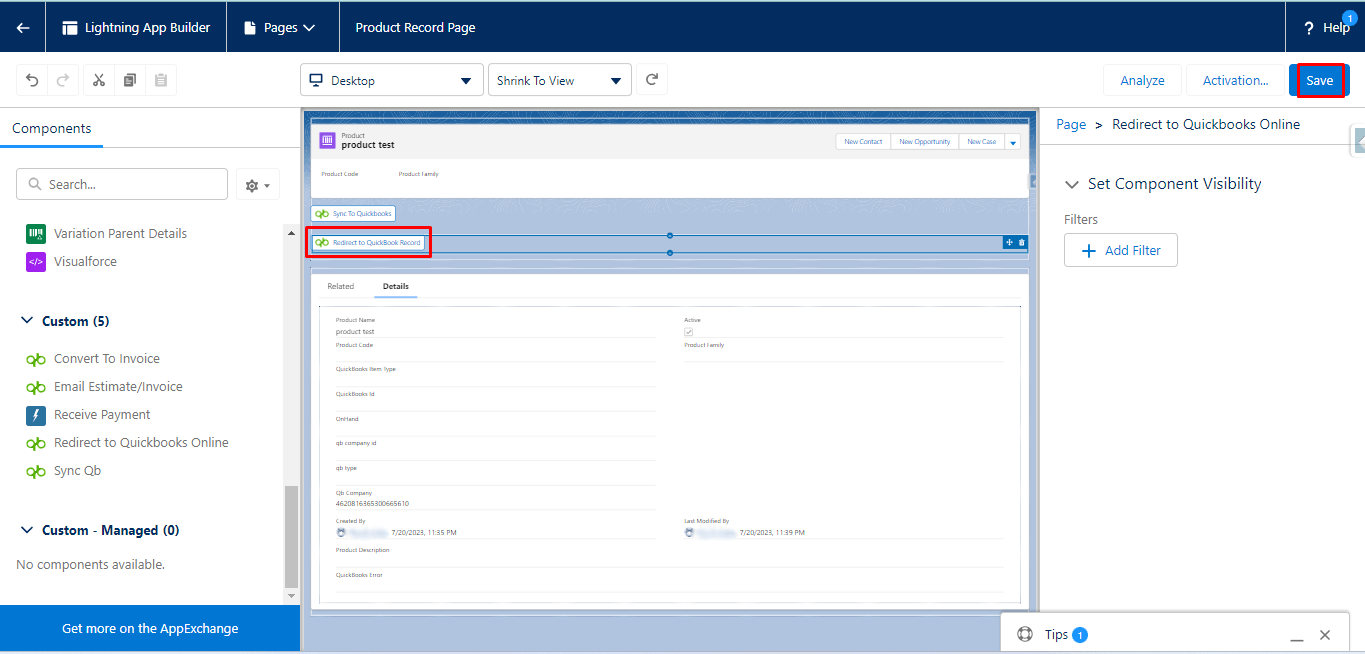
Note: You can add the QB Redirect Button to Redirect into that Quickbooks Record.
Here check your record in Quickbooks Online.
Quickbooks To Salesforce Real-time Sync
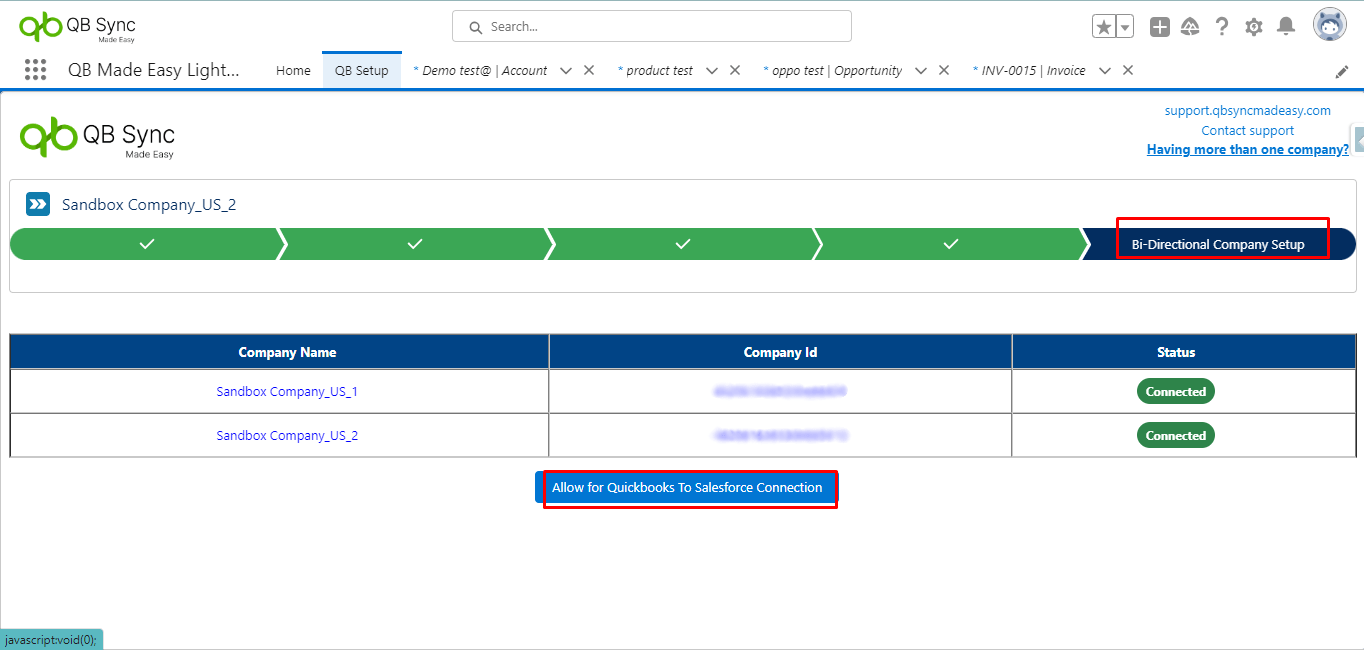
Go to the QBSetup and add a company if it is not added. After adding a company go to the Bi-directional Company setup page and click on the Allow for QuickBooks To Salesforce connection.
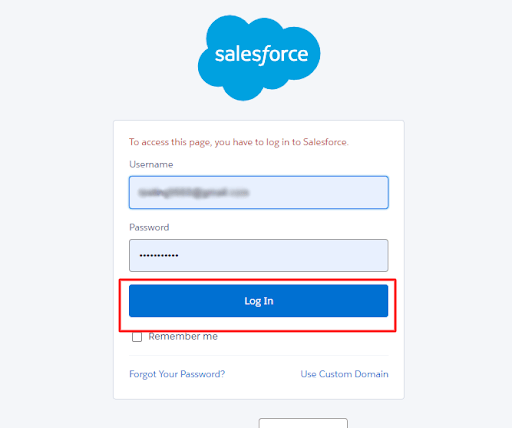
Then, you have to log in to the same Salesforce Account that you want to connect to.
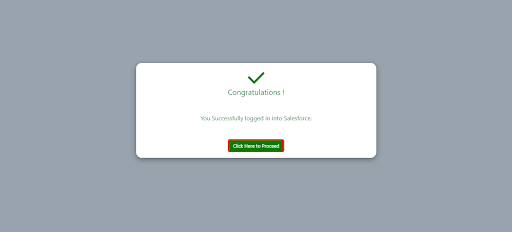
You have to log in to the Salesforce Account, and then you will see the Message that the company has successfully connected. Then you click on the Click here to Proceed Button.
Now create a Record in the Quickbook and Check in the Salesforce and you can see the record in Salesforce.
Now you have synced your data from QuickBooks customer to Salesforce’s account and vice-versa.
All steps will be similar when you are syncing your data, first step would be to map them in object and field setup e.g.: Product-Item or Opportunity-Estimate. For further information on the mapping download ourmanual available on AppExchange.
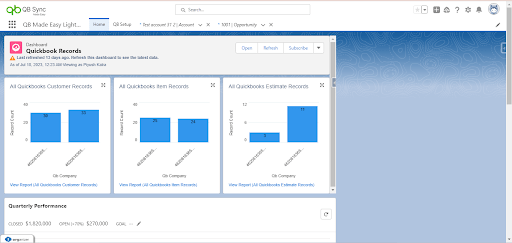
Create Dashboard & Reports
The beauty of the integration of QuickBooks Online and Salesforce is that you can also create reports and dashboards in Salesforce to see how many QuickBooks records have been created in Salesforce. We can show them based on their Quickbooks company ID.
Wrap-Up
This wraps up today’s tutorial on syncing Salesforce accounts with QB customers using Button. Next up, we will be exploring how to sync data from QB to Salesforce & vice-versa with the help of Flow, which will enable you to automatically update and sync the data.
So stay tuned for our next blog and enjoy seamless data sync with QB Sync Made Easy!