How to Manually Sync Salesforce to QuickBooks Using the Sync Button
Published on January 30, 2026
Updated on February 2, 2026
By Team QB Sync Made Easy
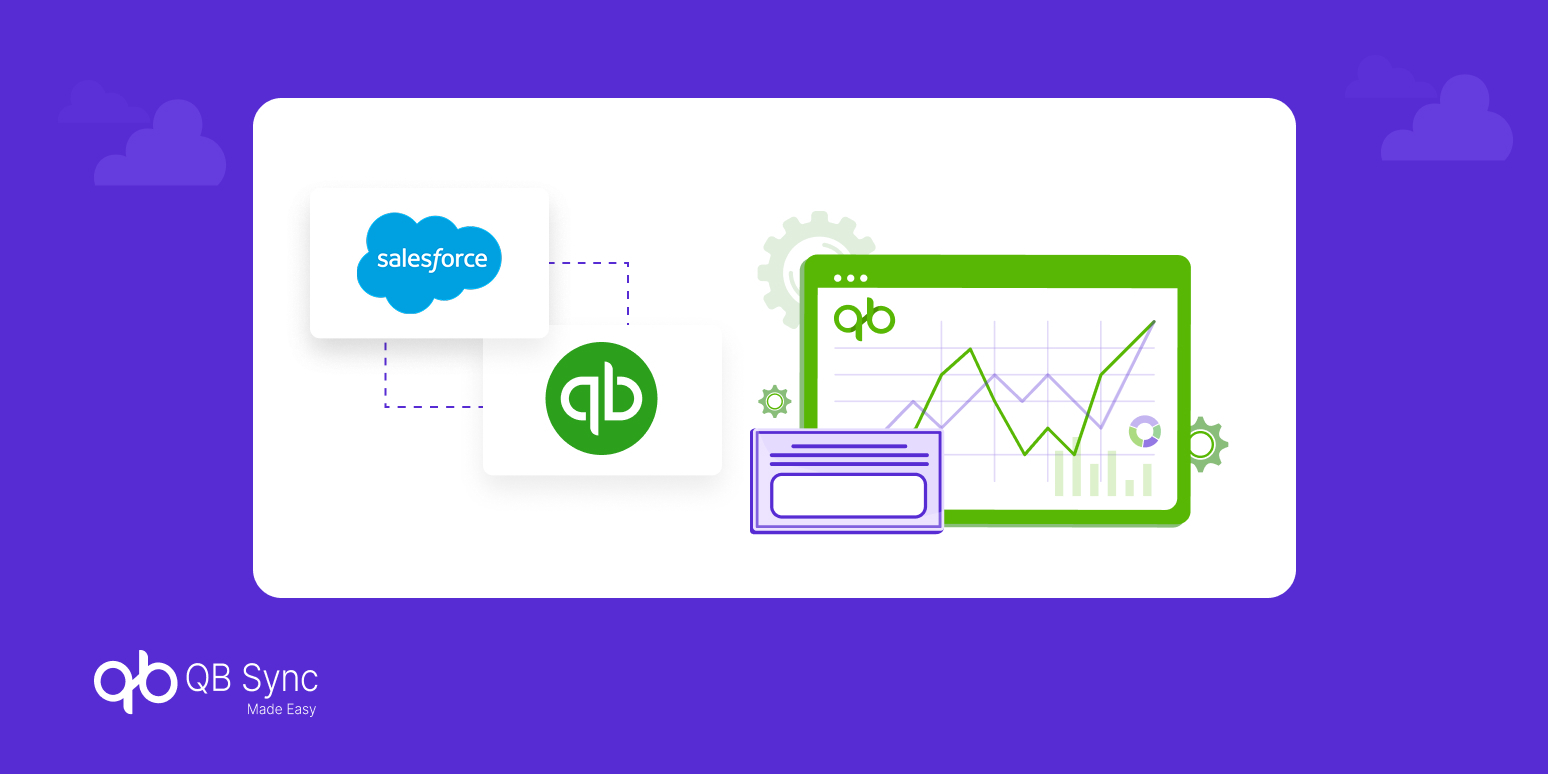
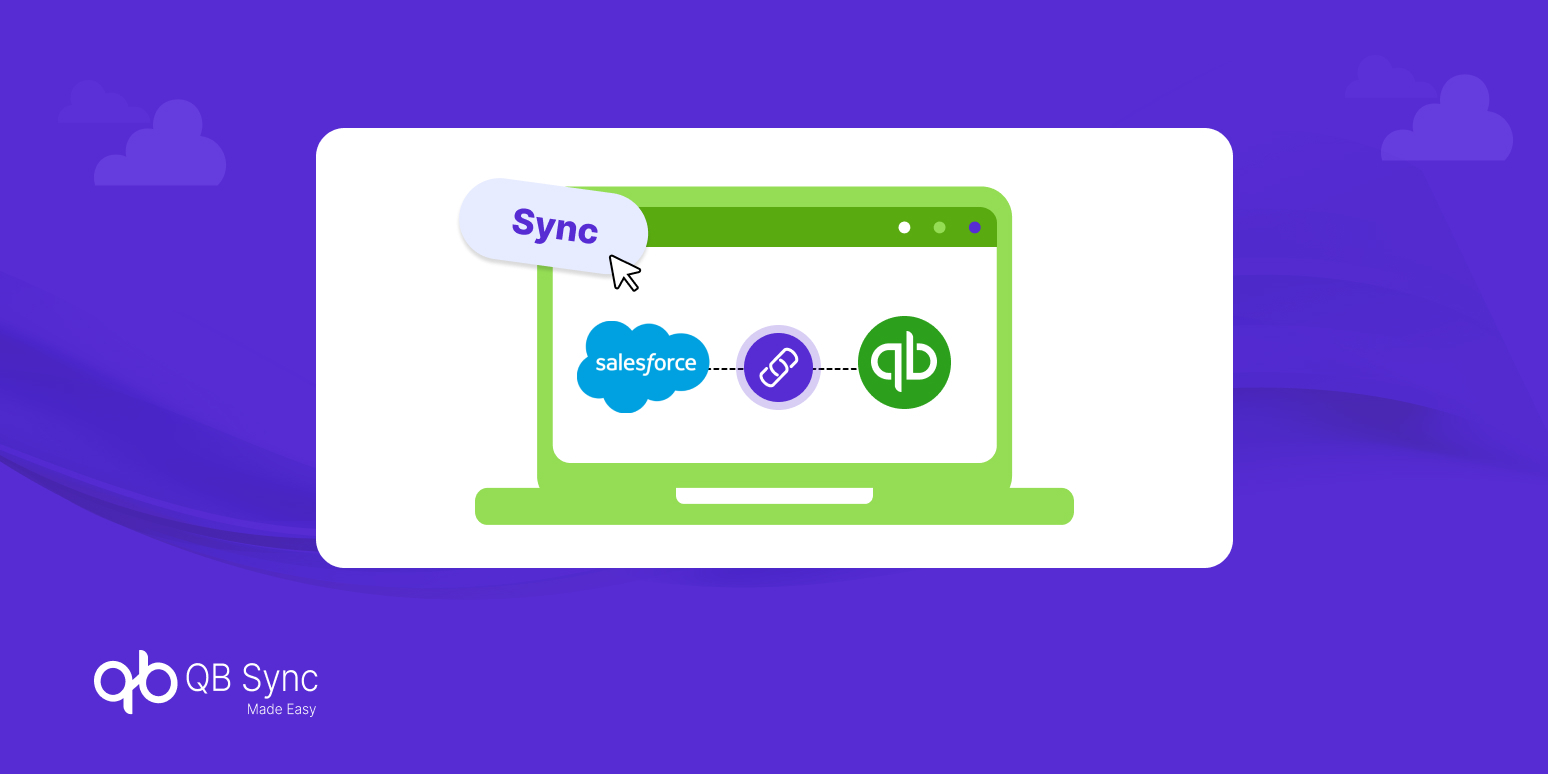
Integrating Salesforce with QuickBooks Online (QBO) allows you to manage your financial data directly within your CRM. The Sync Button provides a simple and effective way to manually send Salesforce records to QuickBooks whenever needed. This is especially helpful when you want instant updates or prefer full control over which records get synced.
Why Use the Sync Button?
The manual Sync Button is useful in several scenarios:
- Instant updates: When you want Salesforce changes to appear in QuickBooks right away.
- No auto-sync enabled: If your org doesn’t use automatic syncing.
Manual control: When you want to pick exactly which records are pushed to QuickBooks.
Prerequisites
Before using the Sync Button, make sure:
- Your Salesforce org is connected to QuickBooks Online.
- Object and field mappings are properly configured in the integration settings.
- Salesforce to QB Data sync is available only in the pro version.
Let’s dive into the steps on how to sync Salesforce to QuickBooks using the sync button manually.
Step 1: Set Up Your QuickBooks Company
Follow the steps to complete the connection setup for no-code QuickBooks to Salesforce legacy data sync.
Step 2: Open the Salesforce Object (e.g., Account)
Navigate to the Salesforce object where you want to place the Sync Button.

Step 3: Click the Gear Icon
At the top-right of Salesforce, click Settings → Edit Page to open the Lightning App Builder.
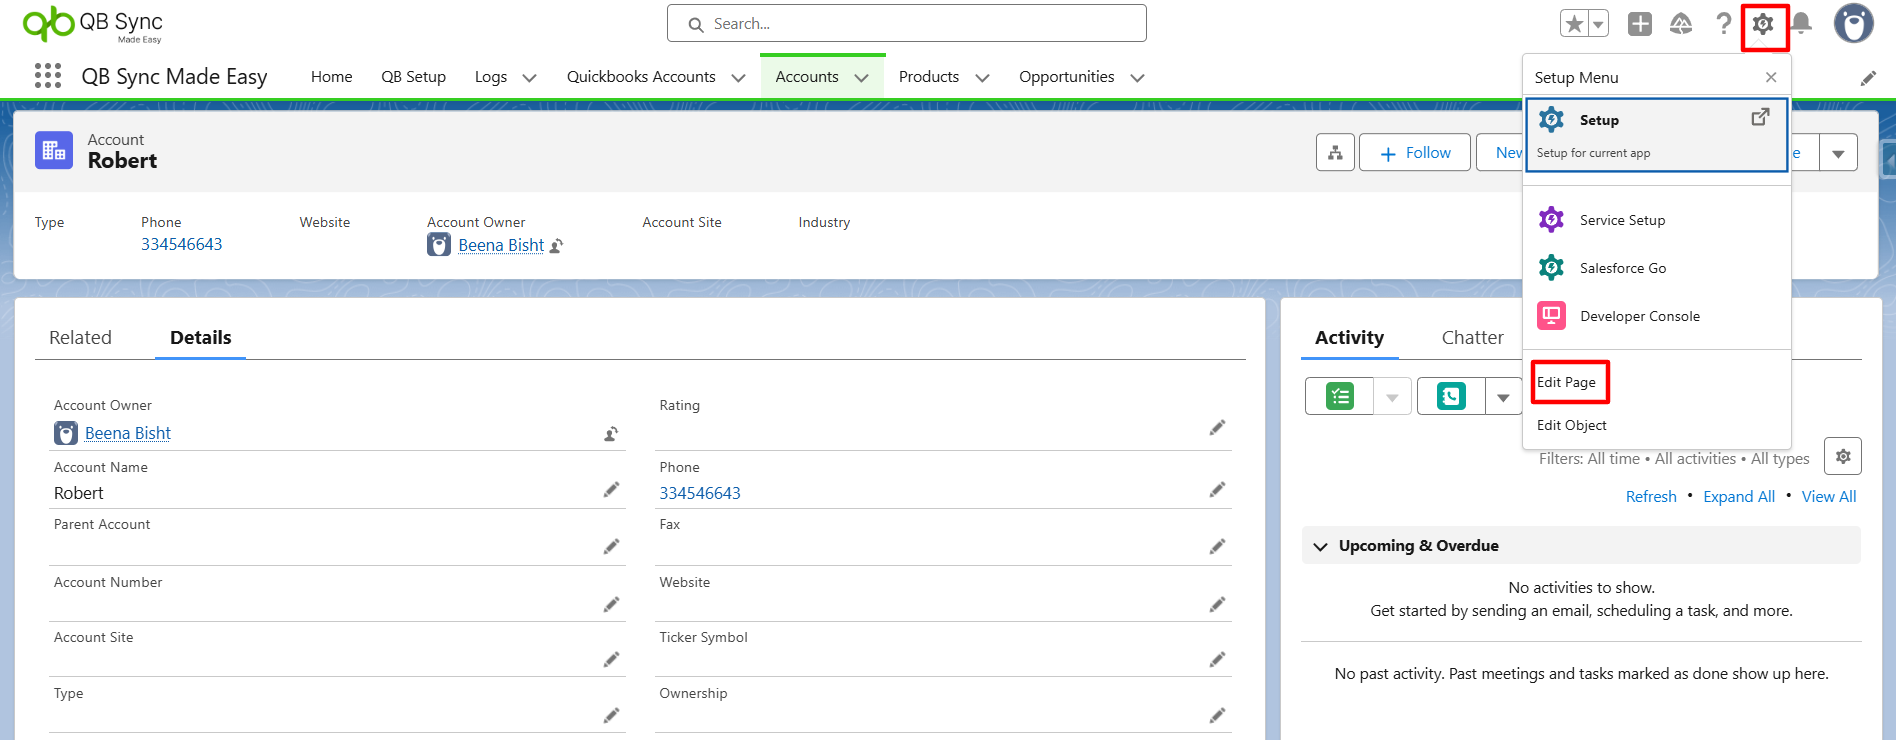
Step 4: Open the Lightning App Builder
Salesforce will load the Lightning page layout for that object.
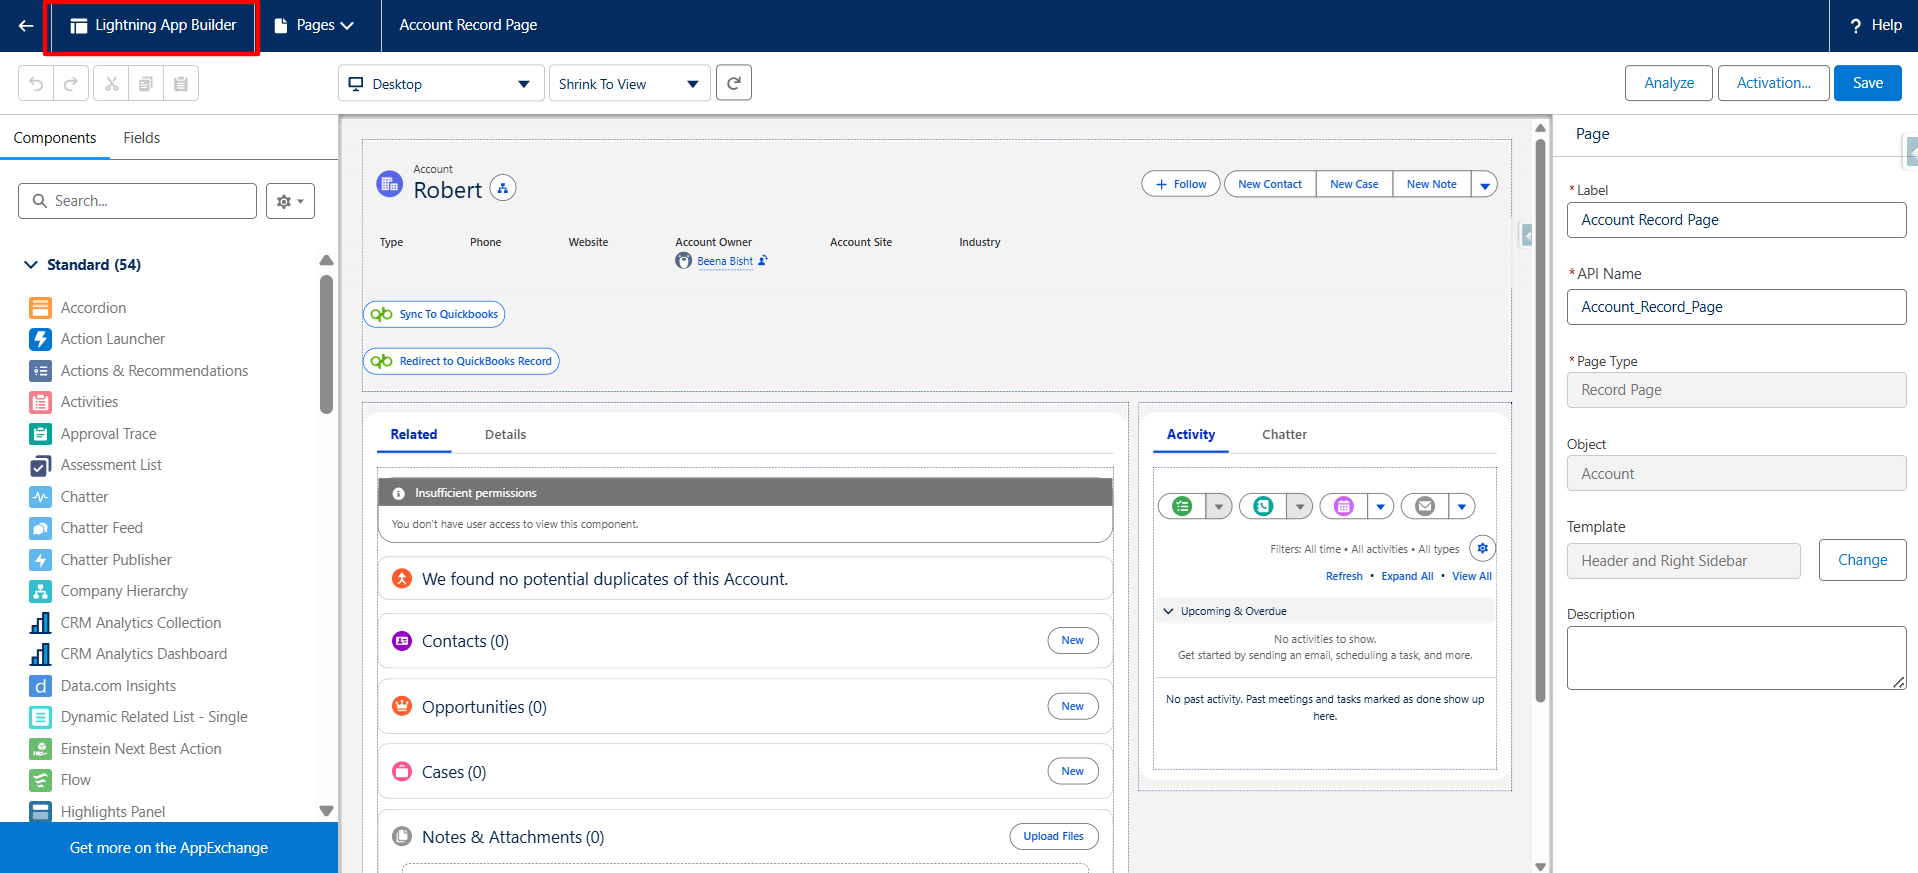
Step 5: Drag and Drop the Sync Button
In the left sidebar, locate the Sync Button component. Drag and drop it into your preferred section on the page layout.
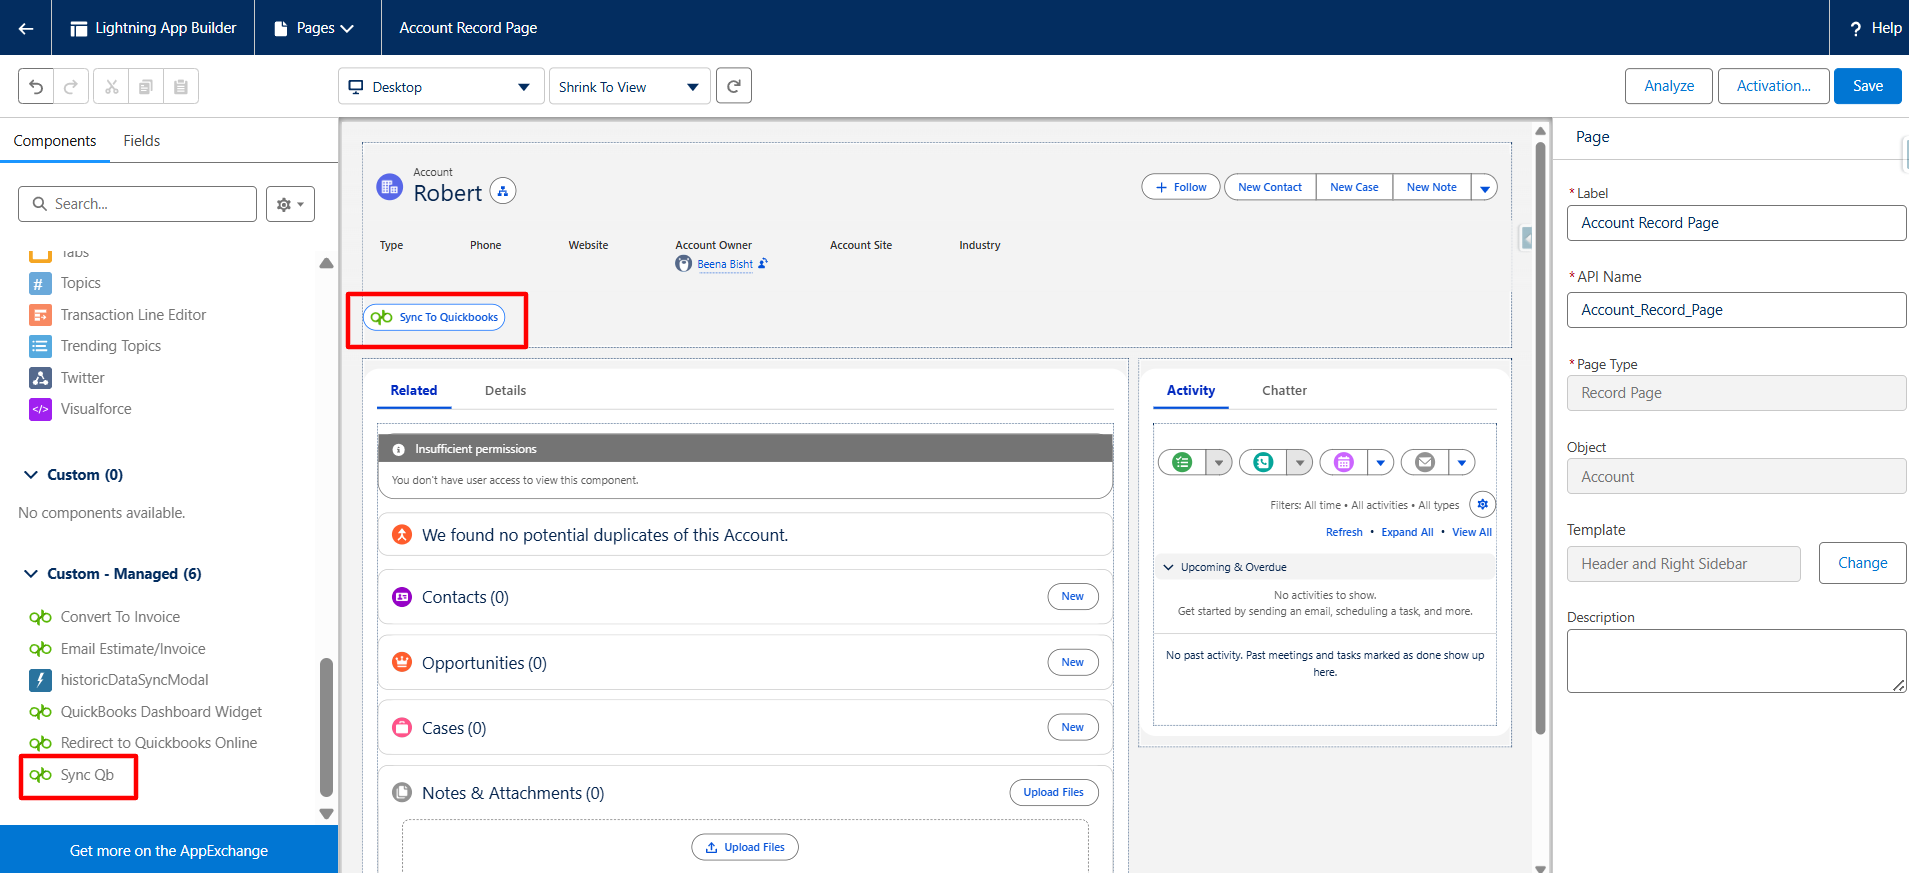
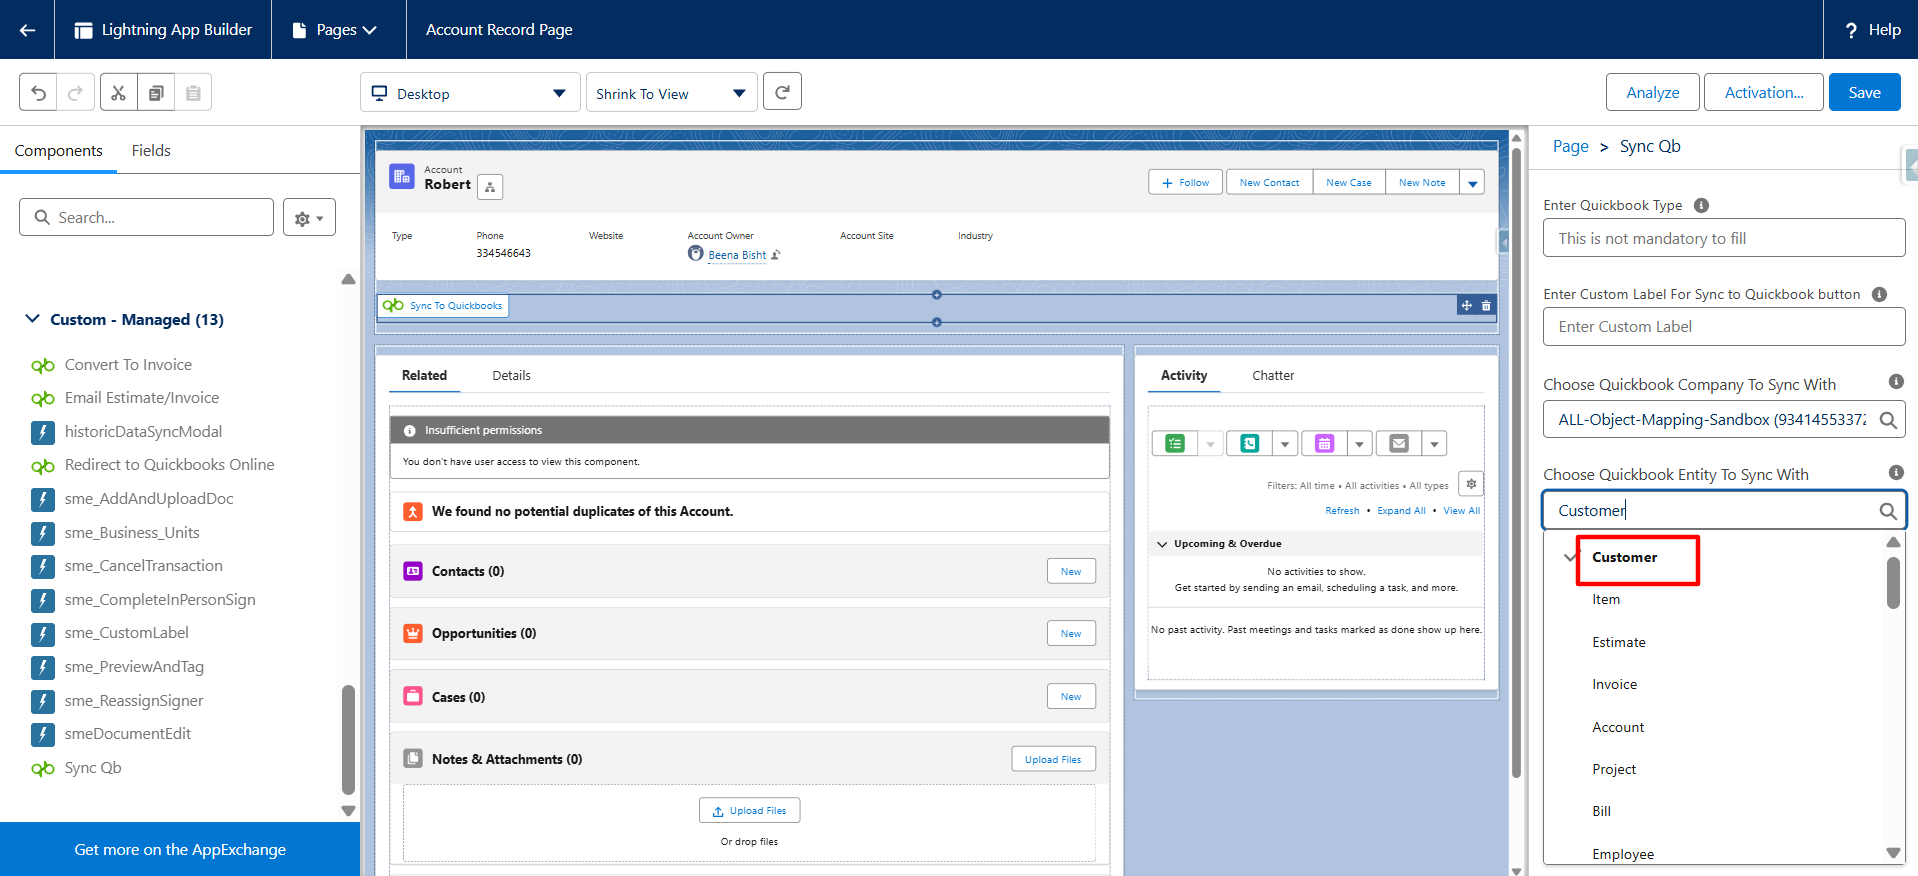
Step 6: Configure the Button
Select the button on the page to see its configuration panel. Fill in the below requirements:
- The QuickBooks company connected
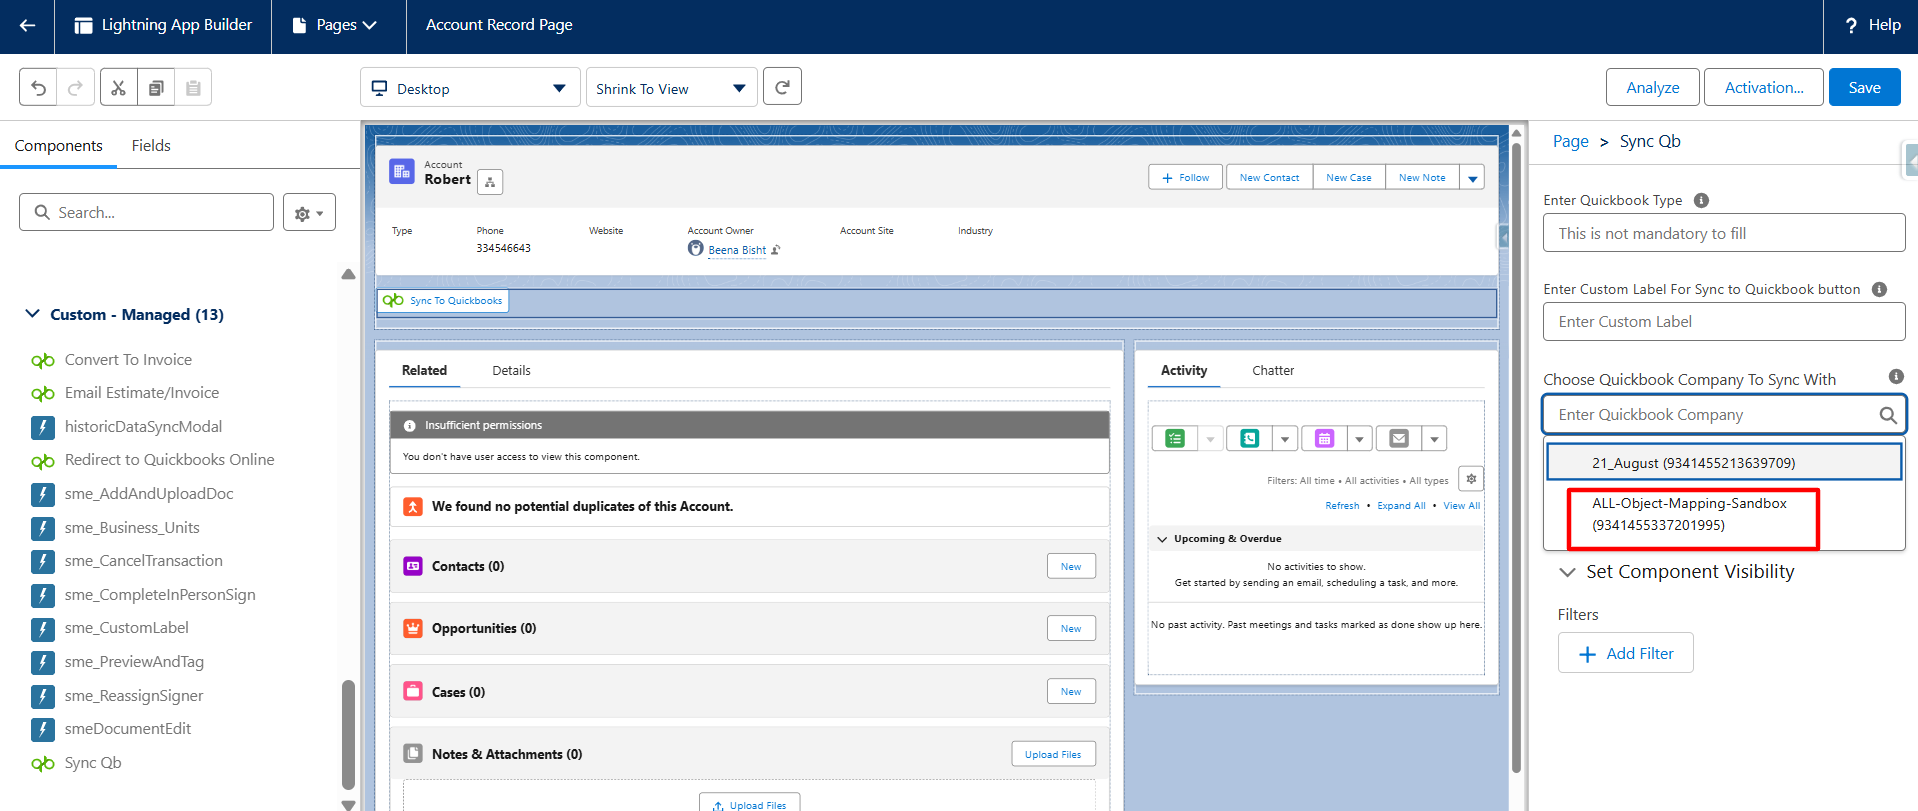
- The Quickbooks object you want to sync
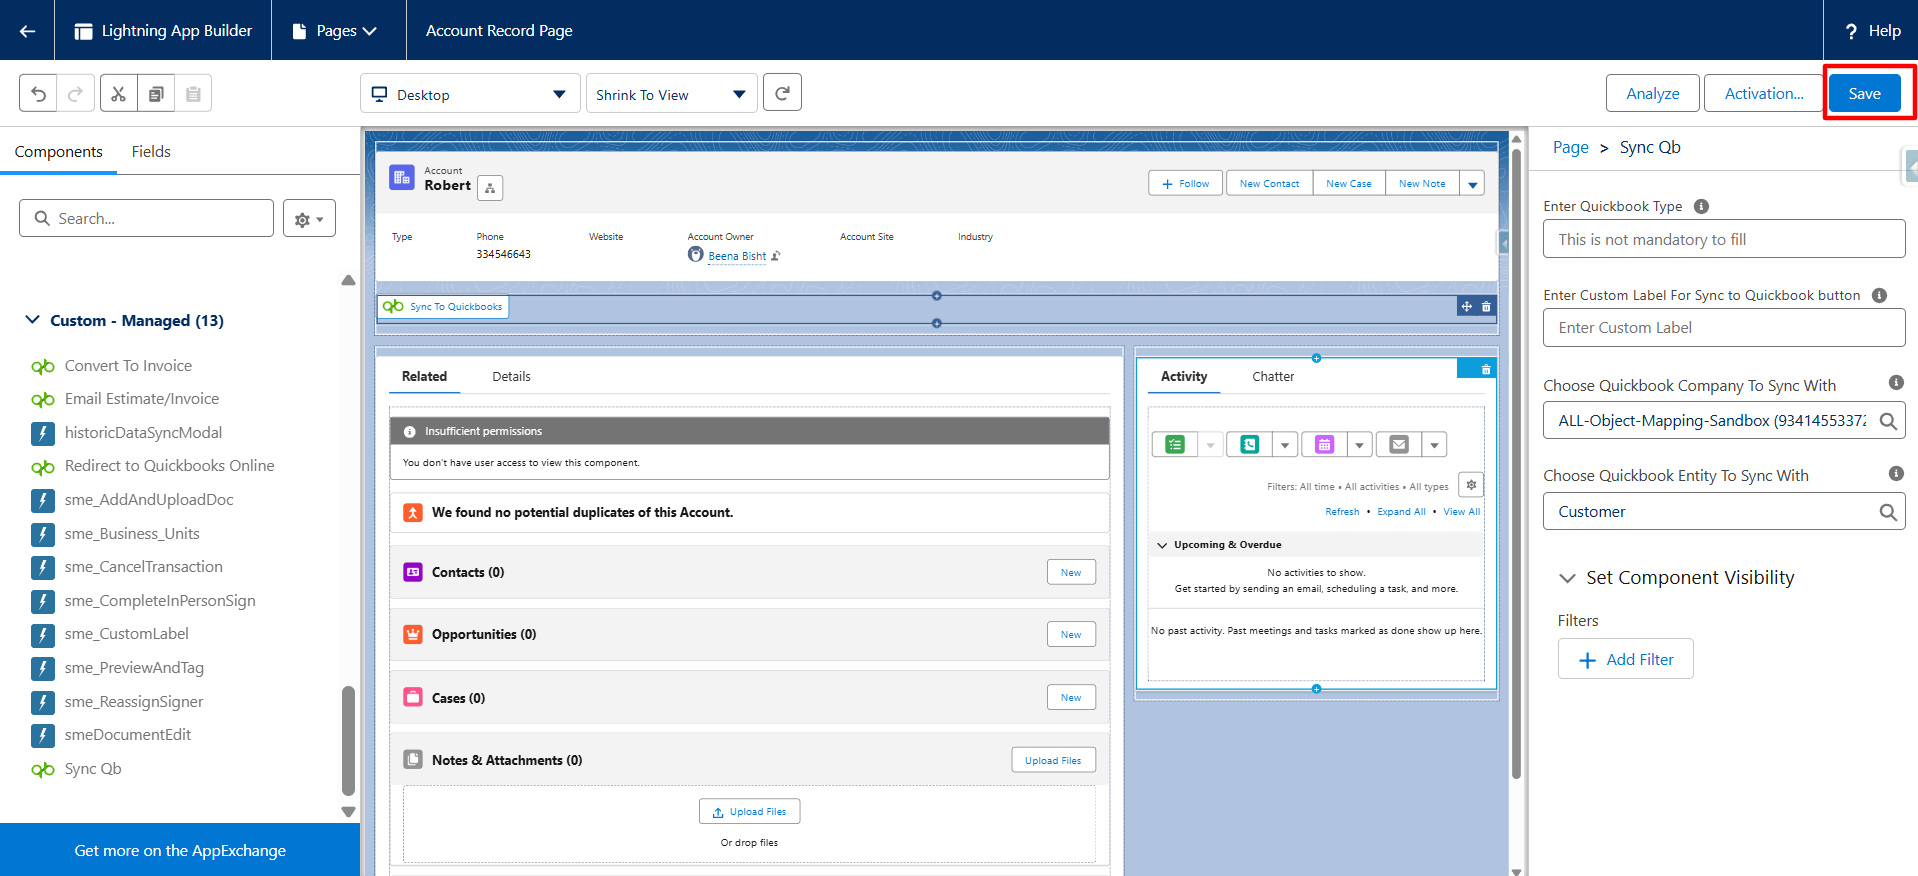
Step 7: Save Your Changes
Click Save in the top-right corner of the Lightning App Builder.
Step 8: Return to the Salesforce Record
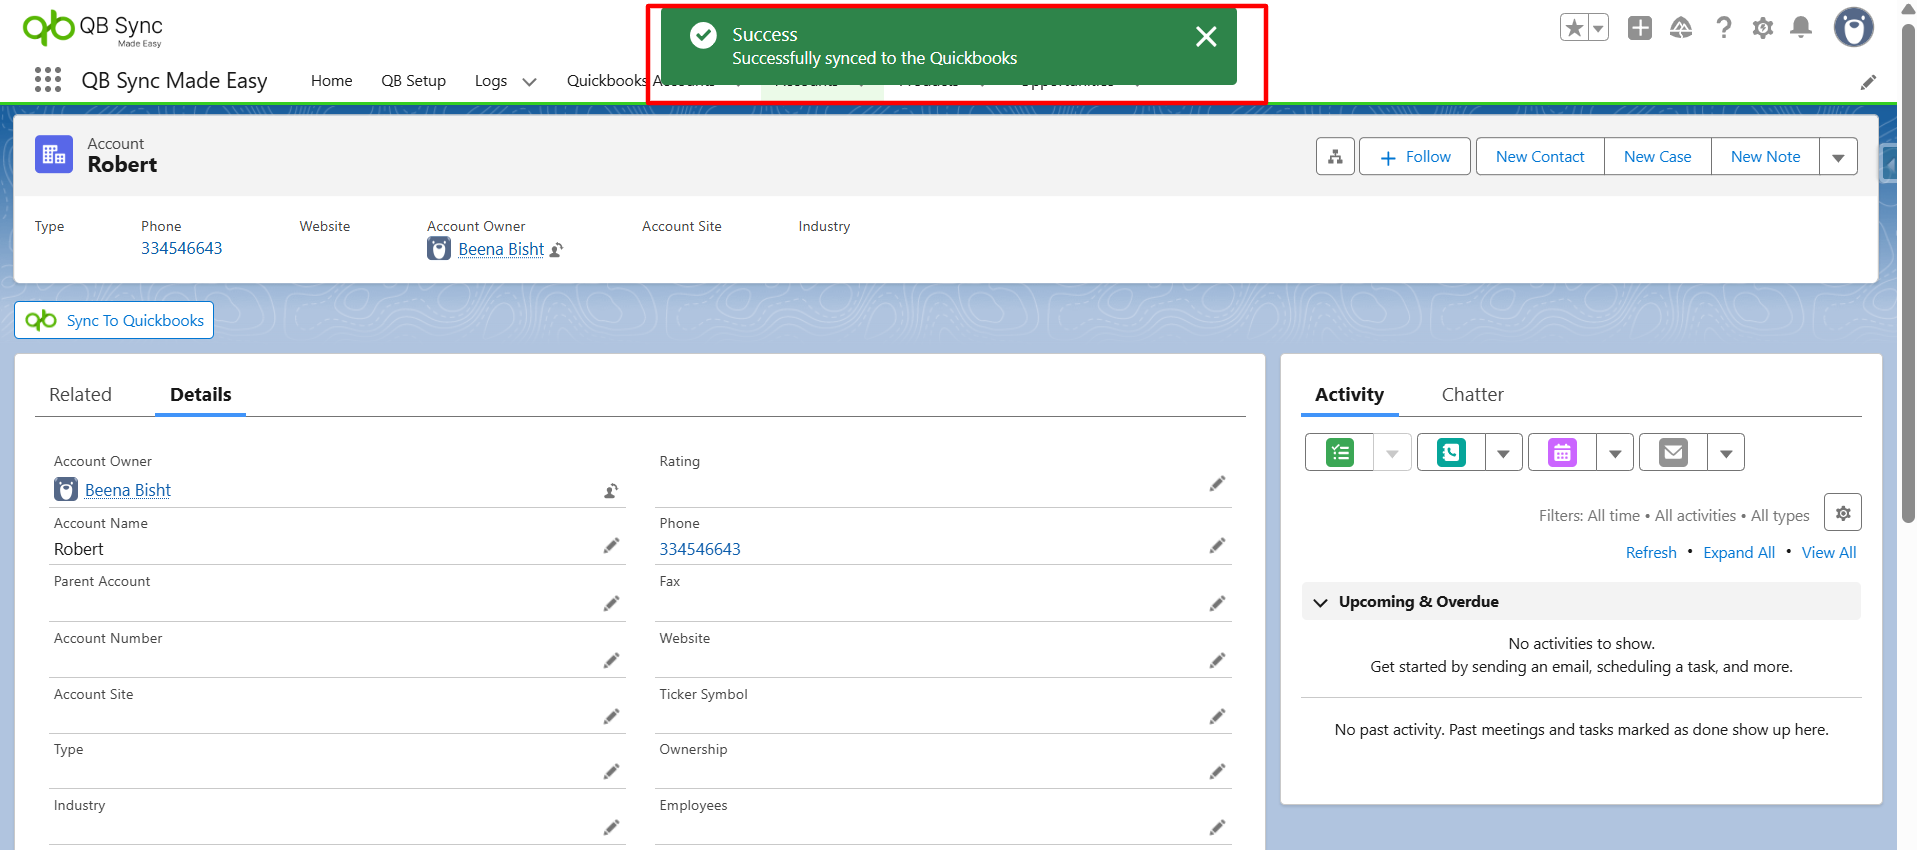
Go back to a record on that object. After filling in all required fields, click the Sync Button.
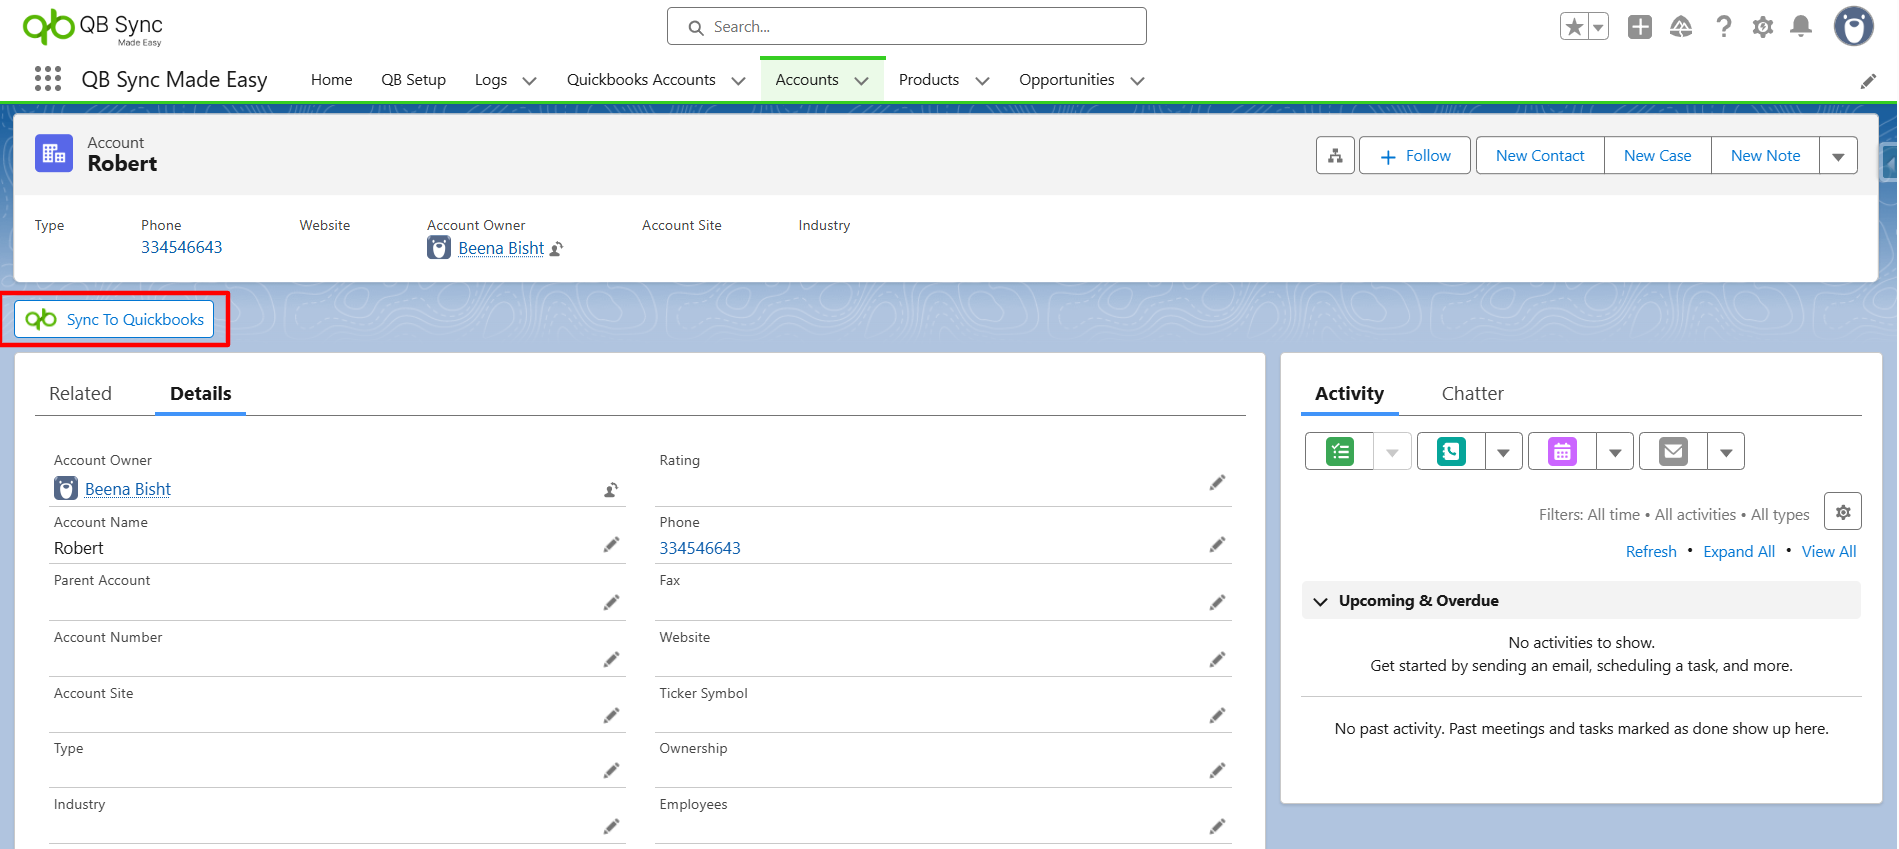
You should see a confirmation message indicating that the record has been successfully synced with QuickBooks Online.
Conclusion
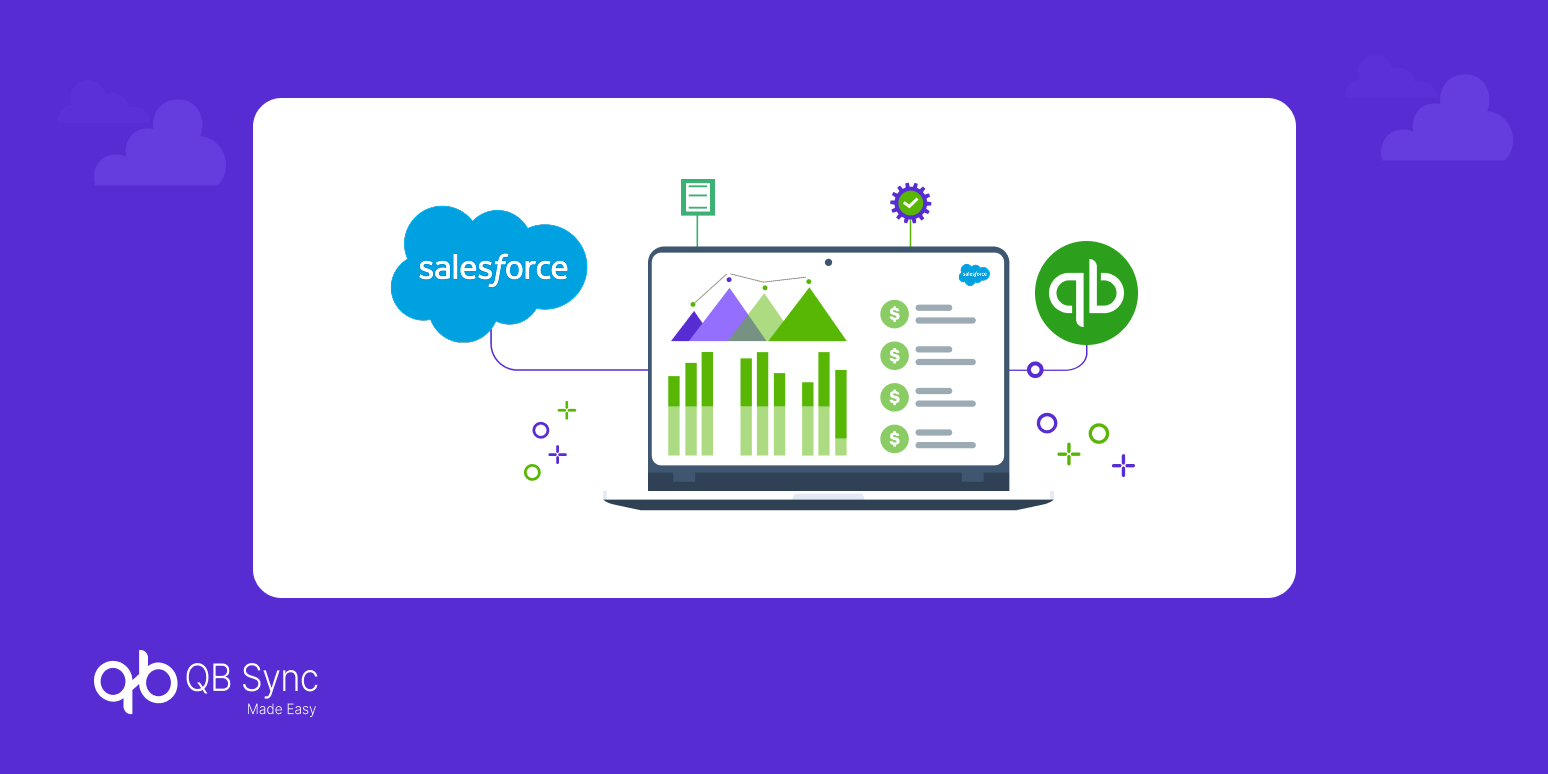
Manually syncing Salesforce to QuickBooks using the Sync Button gives teams the flexibility and control they need when real-time automation isn’t required. For businesses that want precise, on-demand updates, this approach ensures Salesforce and QuickBooks Online stay aligned without unnecessary data movement.
However, as data volume and operational complexity grow, relying solely on manual syncing can slow teams down. That’s where a purpose-built solution like QB Sync Made Easy adds real value.
Designed specifically for integrating Salesforce and QuickBooks, it supports both manual and automated sync options, intelligent field mapping, error handling, and scalable data workflows, without custom development.
Whether you’re starting with manual control or planning to scale toward automated Salesforce-QuickBooks integration, QB Sync Made Easy helps ensure your CRM and accounting systems stay accurate, connected, and business-ready at every stage.
No Data Found.